The NHaml project is a super simple view engine that can be used with ASP.NET MVC. Unfortunately, like many young projects, it has changed so much in recent months, many articles on it are out of date. In fact, I don’t think I have seen any setup guides that still actually work. So, here is how to setup NHaml on SVN revision 98.
Couple of prerequisites before you get started. I am assuming you have TortoiseSVN and ASP.NET MVC
Here is the section outline so you can jump a head if you already have some of the steps done.
Start a new project
Downloading and Compiling NHaml
Add NHaml References to NhamlSetupApp
Modify the project to run NHaml views
Add some Haml
Run and enjoy
Start a new project
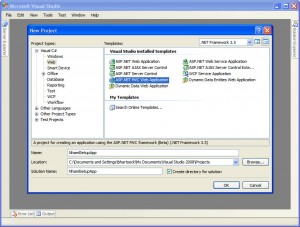
Open Visual Studio 2008, and create a new project. Obviously, you can name this project however you wish but throughout this article, I will be referring to the project as NhamlSetupApp.
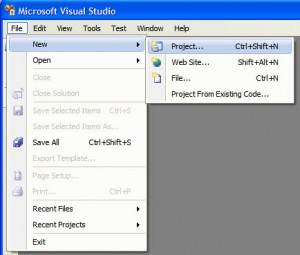
Select an ASP.NET MVC Web Application and enter in your project name.
Downloading and Compiling NHaml
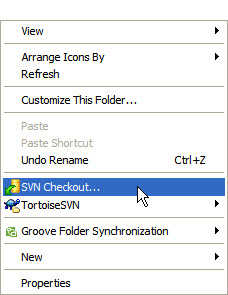
Using ToroiseSVN, we can checkout an up-to-date copy of the source code of NHaml. Just right click in the folder you wish you checkout the source and click SVN Checkout
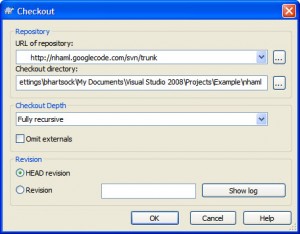
This brings up the checkout screen which allows you to enter a repository URL. Currently, the NHaml trunk can be found at http://nhaml.googlecode.com/svn/trunk. Check out the code, and load the solution file found at /nhaml/src/NHaml.sln.
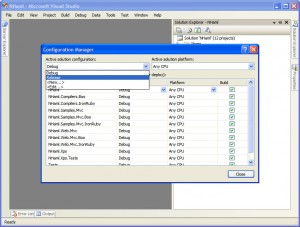
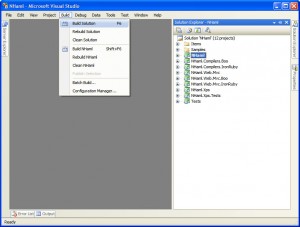
After getting the solution open, we need to make sure the build is set to release through Configuration Manager. Go to Build -> Configuration Manager and select Release.
After the solution has been built, you can navigate to the /nhaml/src/NHaml.Web.Mvc/bin/Release and find all the binaries you need in your project. We can copy these binaries into a directory in the NhamlSetupApp and add them as references.
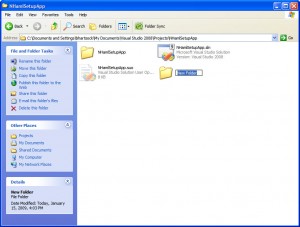
First copy from /nhaml/src/NHaml.Web.Mvc/bin/Release
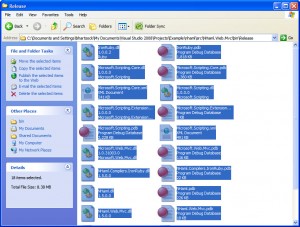
Create a directory called lib in /NhamlSetupApp/ and copy all the NHaml binaries there.
Add NHaml References to NhamlSetupApp
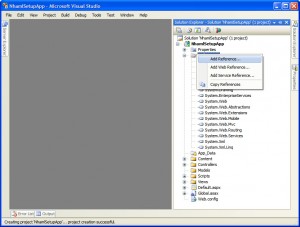
Right-click on References and click on Add Reference.
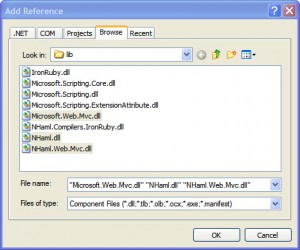
Once the dialog opens, go to the Browse tab, and navigate to /NhamlSetupApp/lib that you created earlier. From there select Microsoft.Web.Mvc, NHaml, NHaml.Web.Mvc and Open.
Modify the project to run NHaml views
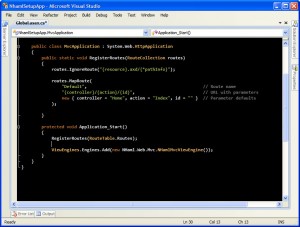
First, you need to edit Global.asax and add the NHaml view engine to the collection of view engines. Adding the following lines to the Application_Start function can easily accomplish that.
ViewEngines.Engines.Add(new NHaml.Web.Mvc.NHamlMvcViewEngine());
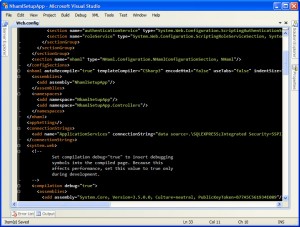
Next, web.config needs to be modified so that the NHaml view engine can create the views and reference the appropriate assemblies.
Add the following section definition in configSection
<section type="NHaml.Configuration.NHamlConfigurationSection, NHaml" name="nhaml"></section>
Now the NHaml configuration element can be defined.
<nhaml autorecompile="true" templatecompiler="CSharp3" indentsize="2" usetabs="false" encodehtml="false">
  <assemblies>
    <add assembly="NhamlSetupApp"></add>
  </assemblies>
  <namespaces>
    <add namespace="NhamlSetupApp"></add>
    <add namespace="NhamlSetupApp.Controllers"></add>
  </namespaces>
</nhaml>
Add some Haml
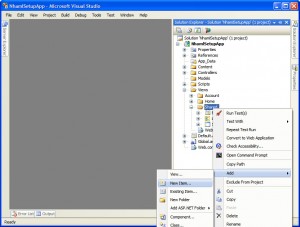
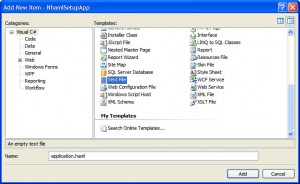
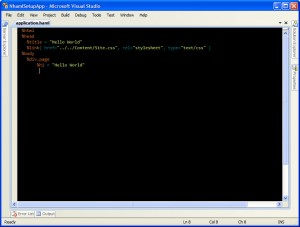
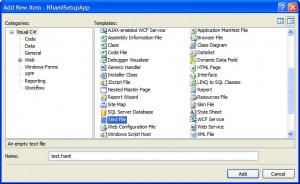
For this project, the next step I am going to take is creating an_ application.haml_ file as the equivalent of a Site.master. In the shared folder, just add a new item that is a text file named application.haml.
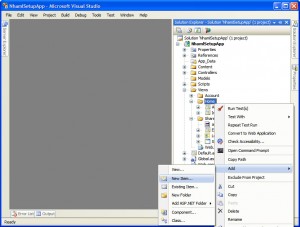
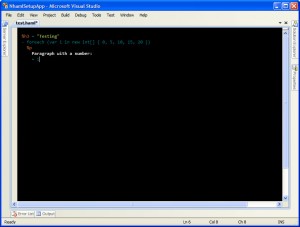
Next I am going to add a new view in Home called test.haml.
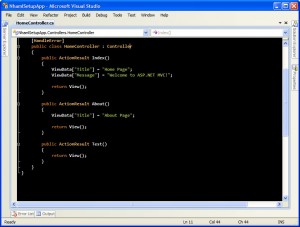
Now just add a stub method in the view.
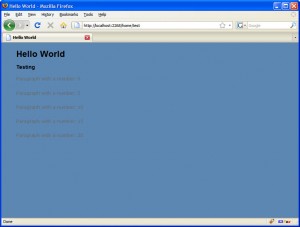
Run and enjoy
Hope this helps someone. The first time you set it up can be very troublesome.
